Beginner's Guide to Growing Mushrooms at Home 🍄🟫
Ready to grow your own gourmet mushrooms? 🍄 Learn how to grow Pink Oyster and Lion's Mane mushrooms at home with simple steps, helpful tips, and a delicious recipe to enjoy your harvest.
MUSHROOMS
10/10/20254 min read

🍽️ Recipe: Sautéed Garlic Herb Mushrooms
This simple recipe lets your homegrown mushrooms shine — buttery, garlicky, and full of flavor.
Ingredients:
1 tbsp olive oil
1 tbsp butter
2 cups fresh Pink Oyster or Lion’s Mane mushrooms, roughly torn
2 cloves garlic, minced
1 tbsp chopped parsley
Salt and pepper to taste
Instructions:
Heat olive oil and butter in a pan over medium heat.
Add mushrooms in a single layer — don’t overcrowd, or they’ll steam.
Cook 3–5 minutes without stirring until golden brown.
Add garlic and cook another 2–3 minutes until fragrant.
Stir in parsley, season, and serve.
Perfect on toast, pasta, or next to your favorite roasted veggies.
🌞 Final Thoughts
You don’t need a grow tent, fancy gear, or even much space to experience the magic of mushrooms. You just need to start. Let curiosity lead the way — because sometimes the most rewarding things grow quietly, right on your kitchen counter.
This post contains affiliate links. I may earn a small commission if you purchase through them, at no extra cost to you. Thank you for supporting Accidental Eden.
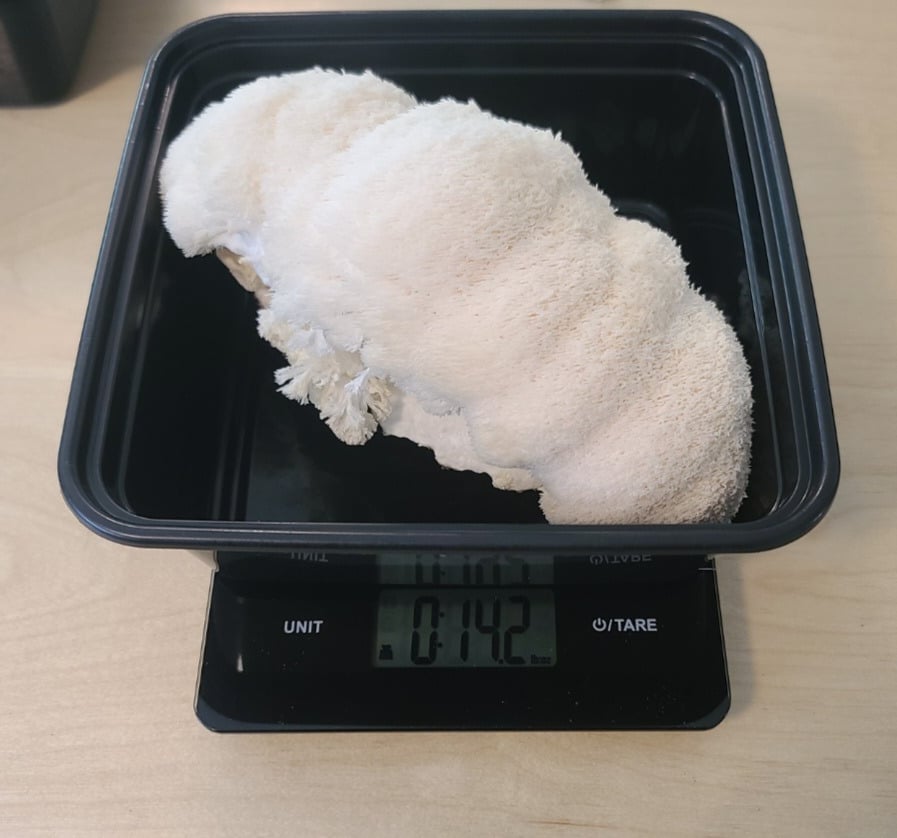
🧠 Growing Lion’s Mane Mushrooms
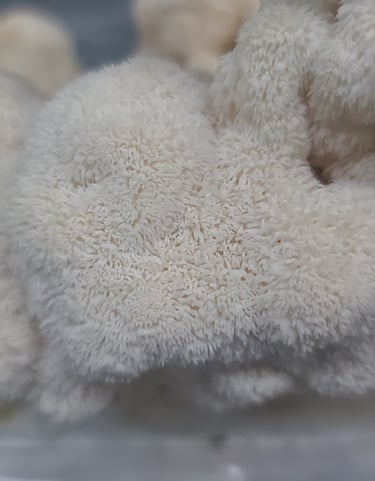
Lion’s Mane takes its time — but it’s worth the wait. It grows into a shaggy white puffball that tastes buttery and rich, with a texture like seafood.
Step 1: Prepare Your Kit
Unbox your Lion’s Mane kit and find the “cut here” label.
Step 2: Make the Cut
Cut a small “X” or slit about 1–2 inches wide. Lion’s Mane prefers smaller openings so it can grow one large, beautiful cluster.
Step 3: Find the Perfect Spot
Place it somewhere with indirect light, steady temperature (60–70°F), and decent airflow. Avoid direct sunlight or heat vents.
Step 4: Mist Regularly
Lion’s Mane also loves humidity. Mist the cut 2–3 times daily to keep it moist. If your air is very dry, a loose humidity tent (clear plastic bag with holes) helps.
Step 5: Watch and Wait
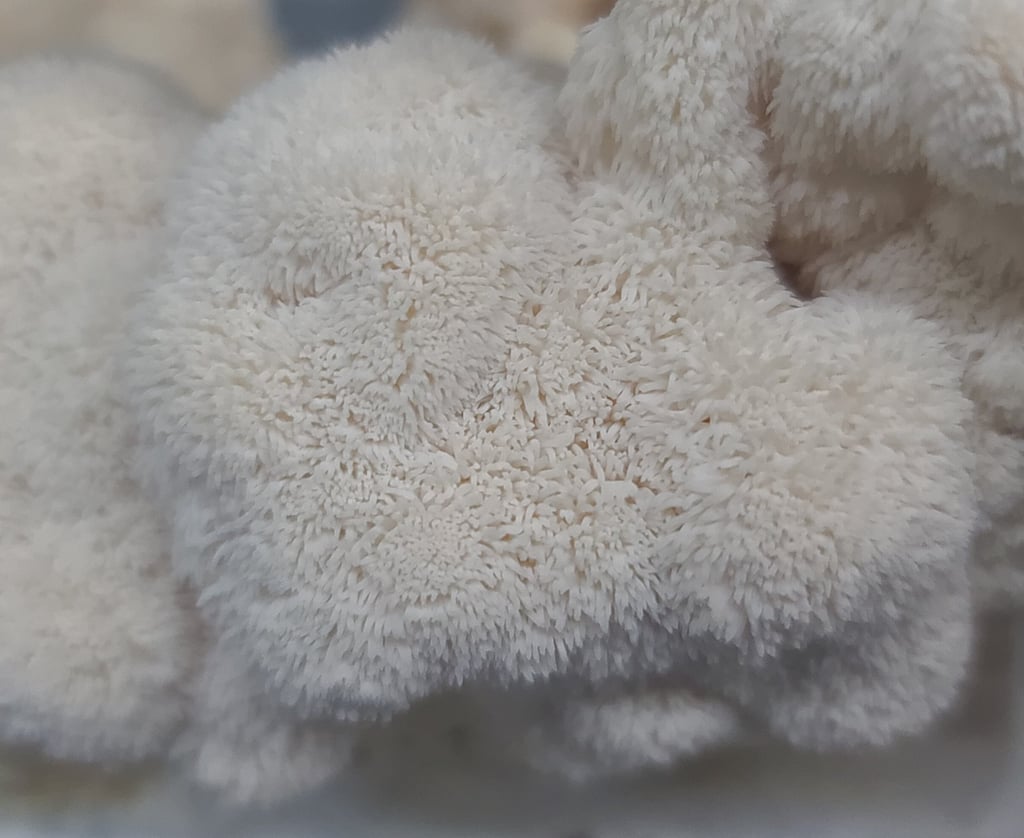
In 7–10 days, you’ll see small white “puffs” forming. Over the next week, they’ll grow into a full, shaggy cluster.
Step 6: Harvest
Harvest when the spines (the tiny teeth-like strands) are about ¼ to ½ inch long and still white. Twist gently or cut at the base.
Step 7: Second Flush
Just like Pink Oysters, you can often get another harvest. Keep misting daily and watch for new growth from a different area on the block.
🔍 Troubleshooting
Even with kits, sometimes mushrooms need a little extra attention.
No Growth / Slow Growth: Check humidity and temperature — too dry or too cold slows everything down.
Dry or Cracking Mushrooms: Mist more often or use a loose humidity tent.
Green or Blue Mold: If you spot green or blue fuzz (not normal gray-white mycelium), that’s contamination. Compost it and start fresh — don’t eat from contaminated blocks.
Your Easy Guide to Growing Mushrooms at Home 🍄🟫
There’s something oddly satisfying about growing mushrooms. They don’t ask for much — no soil, no sunlight, no constant attention — yet they somehow feel like tiny miracles when they appear.
You don’t need fancy gear or a green thumb to start. Just a grow kit, a spray bottle, and a little curiosity. That’s it.
Today we’re diving into two of the easiest and most rewarding mushrooms for beginners: Pink Oyster and Lion’s Mane. Both grow beautifully indoors and turn an ordinary kitchen counter into something that feels a little bit enchanted.
🌿 Why Grow Your Own Mushrooms?
Besides the fact that they look incredible (and make your kitchen feel like a science experiment crossed with a fairy garden), there are plenty of reasons to give mushroom growing a try:
Freshness & Flavor: Homegrown mushrooms taste worlds better than store-bought. Pink Oysters are buttery and meaty; Lion’s Mane tastes like crab or lobster.
Simplicity: You can start small, skip the complicated setup, and still get multiple harvests.
Sustainability: Growing at home reduces waste and packaging — and spent blocks can be composted or buried to feed your garden.
Pure Fun: Watching them grow feels like watching time-lapse nature magic in real life.
🍄 What You’ll Need
You don’t need much to start — that’s the beauty of it.
Essentials:
Mushroom Grow Kit – I recommend starting with:
Sharp Knife or Scissors – For opening the bag.
Spray Bottle – Your daily misting tool.
Clean Spot – A kitchen counter or shelf work perfectly.
Patience & Curiosity – The most important ingredients.
Optional:
A clear plastic bag (for dry homes) to create a loose humidity tent.
Thermometer/hygrometer to monitor temperature and humidity.
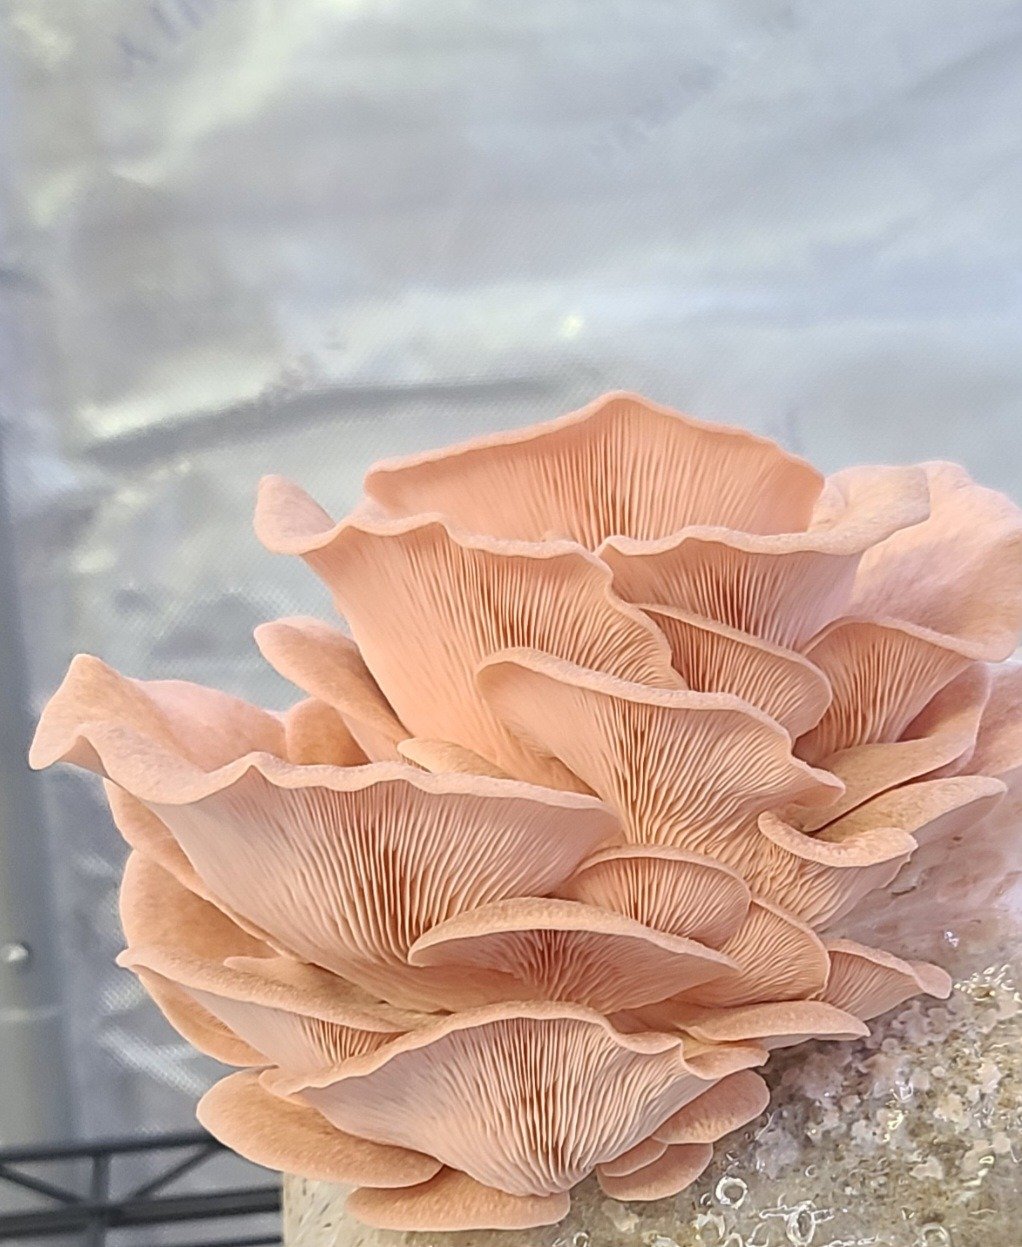
🌸 Growing Pink Oyster Mushrooms
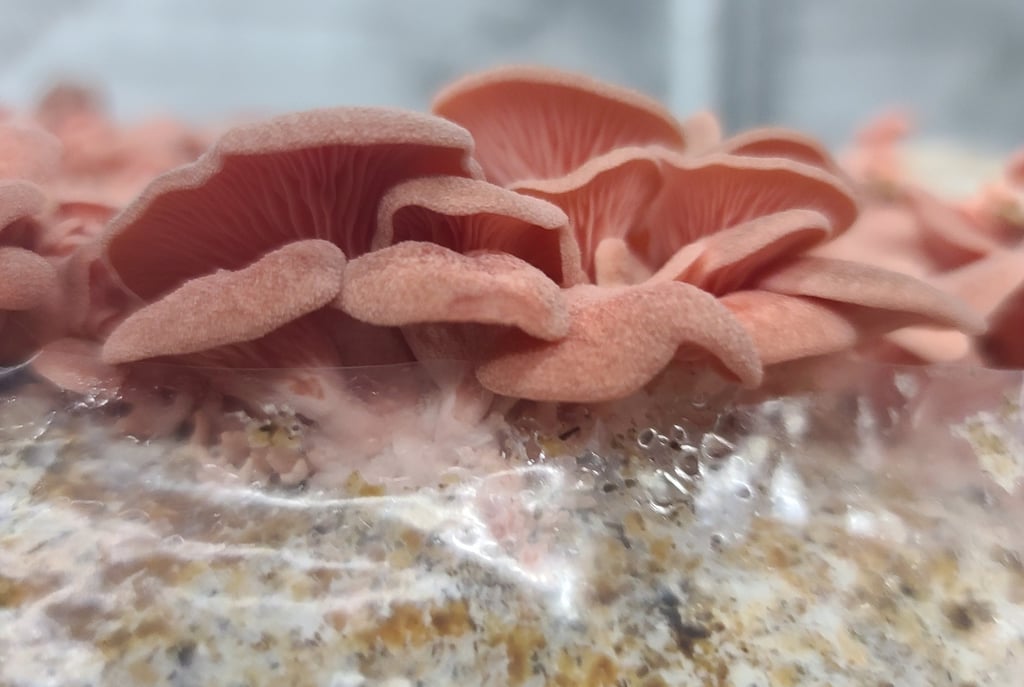
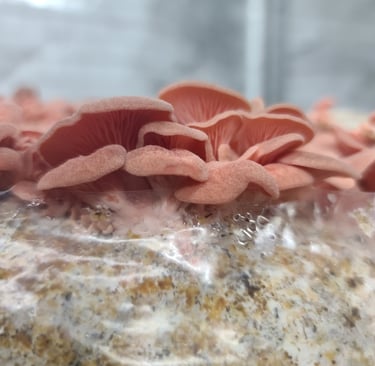
Pink Oysters are the extroverts of the mushroom world — bold, colorful, and fast. They’ll usually give you your first harvest in just over a week.
Step 1: Open the Kit
Find the “cut here” section on the bag and make a small “X” or rectangular slit (about 3–4 inches long). This is where your mushrooms will grow from.
Step 2: Find a Spot
Place your kit in a spot with bright, indirect light (no direct sun) and good airflow. Room temperature (65–75°F) is ideal.
Step 3: Mist Daily
Pink Oysters love humidity. Mist the opening 2–3 times a day with clean water. Keep it damp, not soaked.
💡 If your home air is dry: you can loosely drape a clear plastic bag with holes over the kit to help hold humidity. Think of it like a tiny greenhouse with plenty of airflow — not a sealed bag.
Step 4: Watch for Pins
Within 5–7 days, you’ll notice tiny pink nubs forming at the cut. These are baby mushrooms (called “pins”) — your first little sign of success!
Step 5: Harvest Time
When the caps are open and mostly flat but haven’t curled upward, it’s time. Twist or cut them gently from the base as one whole cluster.
Step 6: Get a Second Flush
After harvesting, rest the block for a day, then keep misting. Most kits produce two or three flushes. You can even soak the block in cool water for a few hours to rehydrate it before the next round.